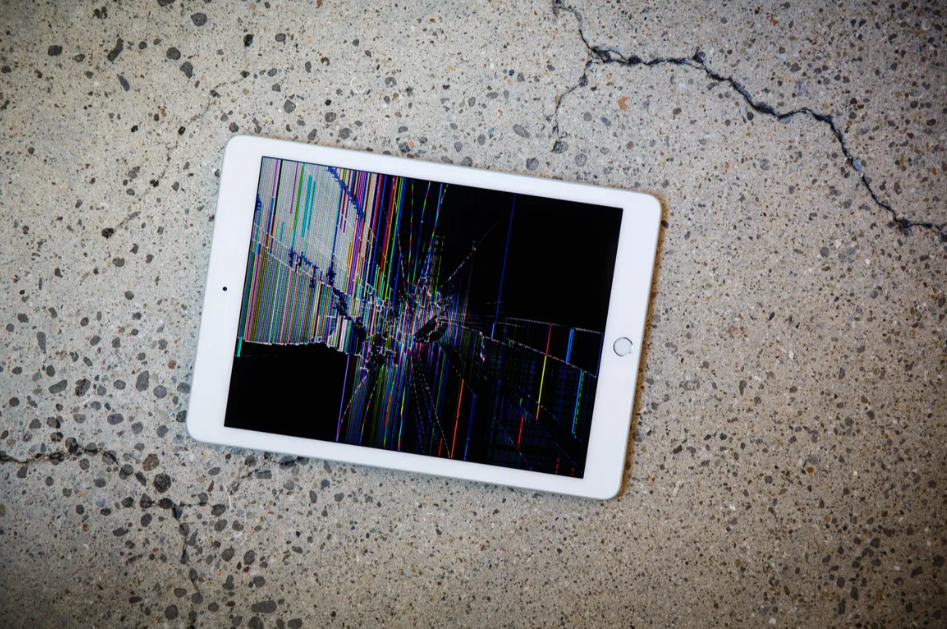
An iPad is a delicate device; its screen can break easily if dropped. If you’ve had the misfortune of breaking your iPad screen, don’t despair! It is possible to replace the screen by yourself if you have the right tools and know-how.
In this article, we’ll show you how to replace an iPad screen in 4 easy steps. With a little patience and some careful handling, you’ll have your iPad looking good as new in no time.
1. Disconnect the Power:
The first step in any repair job is to disconnect all power sources before starting work. To do this, disconnect any cables from the back of your device, then flip it over and look for a small round switch next to where you insert batteries. This should be labelled “Power” or “Lock/Unlock.” Use a flathead screwdriver or other thin object to press down on this switch until you hear it click into place. You should use an iPad screen protector for security to your phone from scratches.
2. Remove the Old Screen:
Open up the Smart Cover so you can use it as a stand for holding up your iPad while you work on it. Then gently pry off the back cover using a suction cup or plastic opening tool. Once this is done, remove all of the screws from around the edges of your device using a Phillips #00 screwdriver. Be careful not to strip any of these screws; they are all different sizes and lengths, so take note when removing them.

3. Connect the New Screen:
Connecting these two cables is more complex than it looks – they’re both very fragile! If you’re having trouble connecting them, take a break. You also want to check out our guide on soldering if you haven’t done any electronics work before.
4. Put the I Pad Back Together:
Once you’ve replaced the screen, it’s time to put your iPad back together again. First, make sure that all the cables are in place and sealed properly. Then, put on a new battery if necessary. Finally, just snap the front camera bracket into place and screw in the two screws that hold it in place. You’re done! You now have a fully functional iPad again with a brand-new screen.
Conclusion:
In conclusion, replace an iPad screen is relatively easy if you have the necessary tools and knowledge. Simply follow the four steps outlined, and you will have your iPad up and running in no time.